Unreal Engine Game Features and Modular Gameplay
The Lyra sample project is one of the resources that I’m constantly referencing as part of learning to build games with Unreal Engine. It’s a great showcase of best practices, and allows me to get valuable insights on how to use engine features.
Epic provides some written documentation about Lyra but unfortunately it’s far from being comprehensive, which means that to get a full understanding of how this game is put together one has to dive into its source code and reference various other docs. Since Lyra uses multiple Unreal Engine subsystem and frameworks in an interconnected way, understanding how a certain feature is implemented can be a daunting task that requires familiarity with multiple ancyllary frameworks and plugins.
Let me give a practical example: I wanted to understand how Lyra uses the Ability System, but its implementation is tightly coupled with Game Features and the Modular Gameplay Plugin. Unfortunately for me, I couldn’t really find a satisfying primer on how Modular Gameplay works, which meant I had to do my own research.
This post and the companion sample project, which I strongly recommend you fork it and check it out if you want to follow along, document my findings.
Game Features and Modular Gameplay
Game Features and Modular Gameplay plugins allow you to organise code by encapsulating game functionality as separate plugins called “Game Features”. This has several benefits:
- Promotes the creation of smaller and independent features over large monolithic projects.
- Improved dependency management between different components of a game, avoids accidental coupling that could happen when all code and assets are all kept together.
- Makes it easy to extract and reuse code and content in other projects.
Initial setup
In order to get started, you’ll need to enable the Game Features and Modular Gameplay plugins in your project. Note that for Game Features to work the Asset Manager will need to be configured to support GameFeatureData as an asset type. The Unreal Editor should prompt you to auto-generate the necessary configuration when you restart after adding the Game Features plugin.
If you’re using C++, you’ll also need to add the ModularGameplay module to the build file of your project in order to access UGameFrameworkComponentManager (in the companion project this is done in ModularFeaturesTest.Build.cs).
UGameFrameworkComponentManager
UGameFrameworkComponentManager implements the “Extension Handling System” used to implement extensibility via Game Features. It’s worth noting that this manager also implements support for “Initialization States”, but we won’t discuss that here since it’s not a functionality that’s required to implement Modular Gameplay and Game Features.
Key to the Extension Handling System are these 2 complementary entities: “Receivers”, and “Extension Handlers”.
Receivers
Receivers are Actors that register for extension via UGameFrameworkComponentManager. Note that only registered Actors are eligible to be extended via Game Features.
Actors register using AddGameFrameworkComponentReceiver in PreInitializeComponents(), unregister using RemoveGameFrameworkComponentReceiver in EndPlay, and send events destined for Extension Handlers using SendGameFrameworkComponentExtensionEvent. An example of this can be seen in AModularPawn.
It’s worth noting that ModularPawn only sends the default NAME_GameActorReady event via SendGameFrameworkComponentExtensionEvent, but if needed you can send custom events as well. An example of a custom event can be found in Lyra’s ULyraHeroComponent, which sends NAME_BindInputsNow that’s later leveraged by UGameFeatureAction_AddInputBinding.
Extension Handlers (Actions)
Extension Handlers register to UGameFrameworkComponentManager, and execute code that extends Receiver Actors. They’re commonly referred to as “GameFeatureActions”, or “Actions” within the editor’s UI. Unreal provide various built-in GameFeatureActions, but you can create your own if you have specific needs.
Registering an Extension Handler can be done in two ways:
- Adding a delegate via
AddExtensionHandlerfor running custom logic (seeUGameFeatureAction_AddNiagaraor any of Lyra’sUGameFeatureAction_*classes). - Using
AddComponentRequestif you just need to add a Component to an Actor (this is what the built-inUGameFeatureAction_AddComponentsdoes).
The companion project implements a custom GameFeatureAction, called UGameFeatureAction_AddNiagara. It spawns a Niagara System, and its basic functionality is implemented as follows:
- It extends
UGameFeatureAction. - The property
NiagaraSystemListof typeFGameFeatureNiagaraSystemEntrystored the Action’s configuration. This configuration is validated via theIsDataValid()method. OnGameFeatureActivatingandOnGameFeatureDeactivatingare used to register and unregister a delegate that is invoked whenever a new GameInstance is started, and to execute on any world that has already been instantiated.AddToWorldtakes care of registering the delegate that will add/remove the Niagara System via the aforementionedAddExtensionHandler.
As mentioned before, other GameFeatureActions examples can be found in engine code and in Lyra by searching for classes that start with UGameFeatureAction_*. An interesting one is UGameFeatureAction_AddInputContextMapping, which also overrides OnGameFeatureRegistering and OnGameFeatureUnregistering. These overrides are used to add / remove Input Context Mappings to the user settings for all registered Game Features, even those that are not active yet, hence ensuring that all possible bindings are shown in the game’s settings.
Creating a Game Feature
Now let’s put in practice what we learnt about Receivers and Extension Handlers by creating a Game Feature.
To create a Game Feature, from the Unreal Editor select Edit -> Plugins -> Add -> Game Feature. Note that:
- You can choose between C++ and Content Only Game Features.
- Game Features must be located in the
Plugins/GameFeaturessubfolder of your project. This folder is automatically selected when creating a new Game Feature, so don’t change it.
There are two main configuration settings for Game Features:
Edit -> Plugins -> Game Features -> <Your Game Feature Name> -> Edit: This allows you to configure different aspects of the Game Feature, but the most important ones are Initial State (self explanatory), and Dependecies. Dependencies are noteworthy because by default Game Features are not allowed to access assets and resources from other plugins. If you want to access another plugin’s assets and resources, you’ll need to add that plugin as an explicit dependency of your Game Feature.- The “Game Feature Data Asset”, which can be opened at
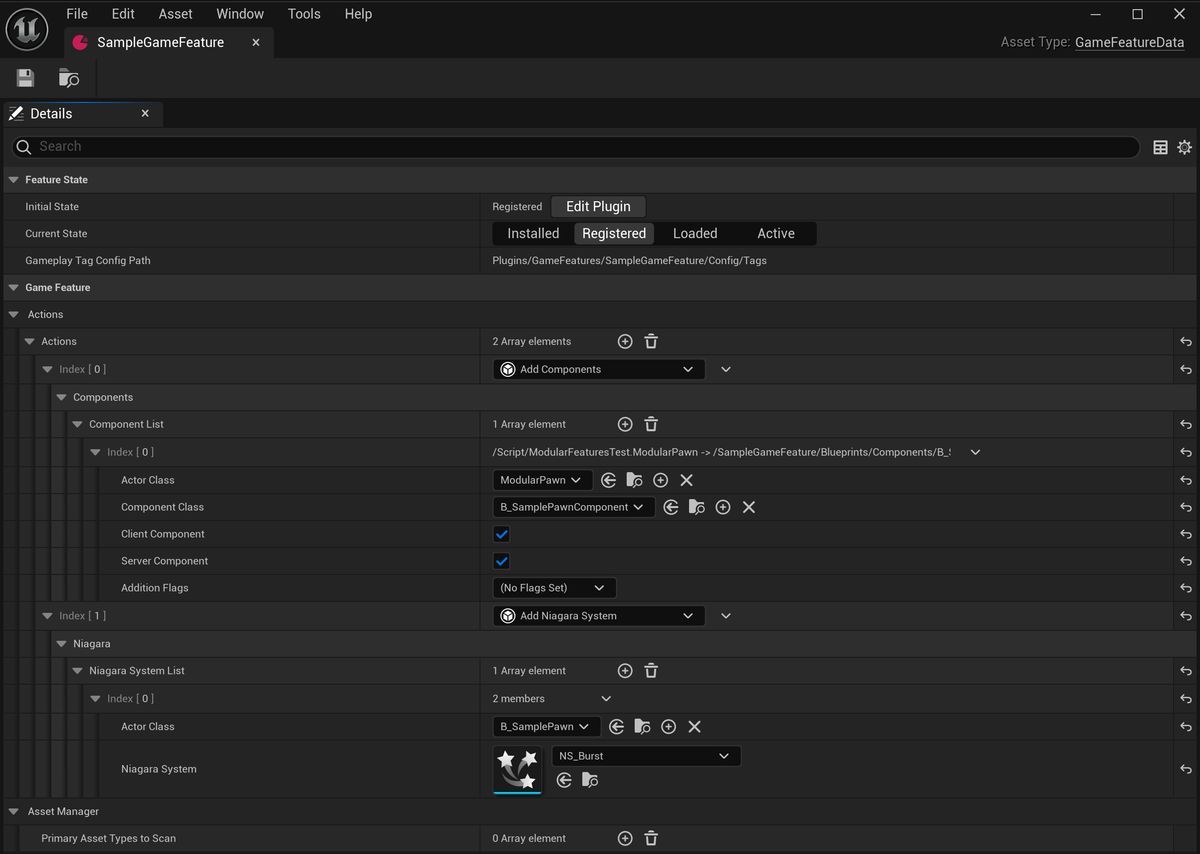
Plugins -> <Your Game Feature Name>Content -> <Your Game Feature Name>from the Content Browser. From here you can manually toggle the Current State of the feature (useful to test stuff), but also add Game Feature Actions (i.e., Extension Handlers with custom configuration).
Now let’s look at a practical example. In the companion project, there’s a Game Feature called SampleGameFeature.

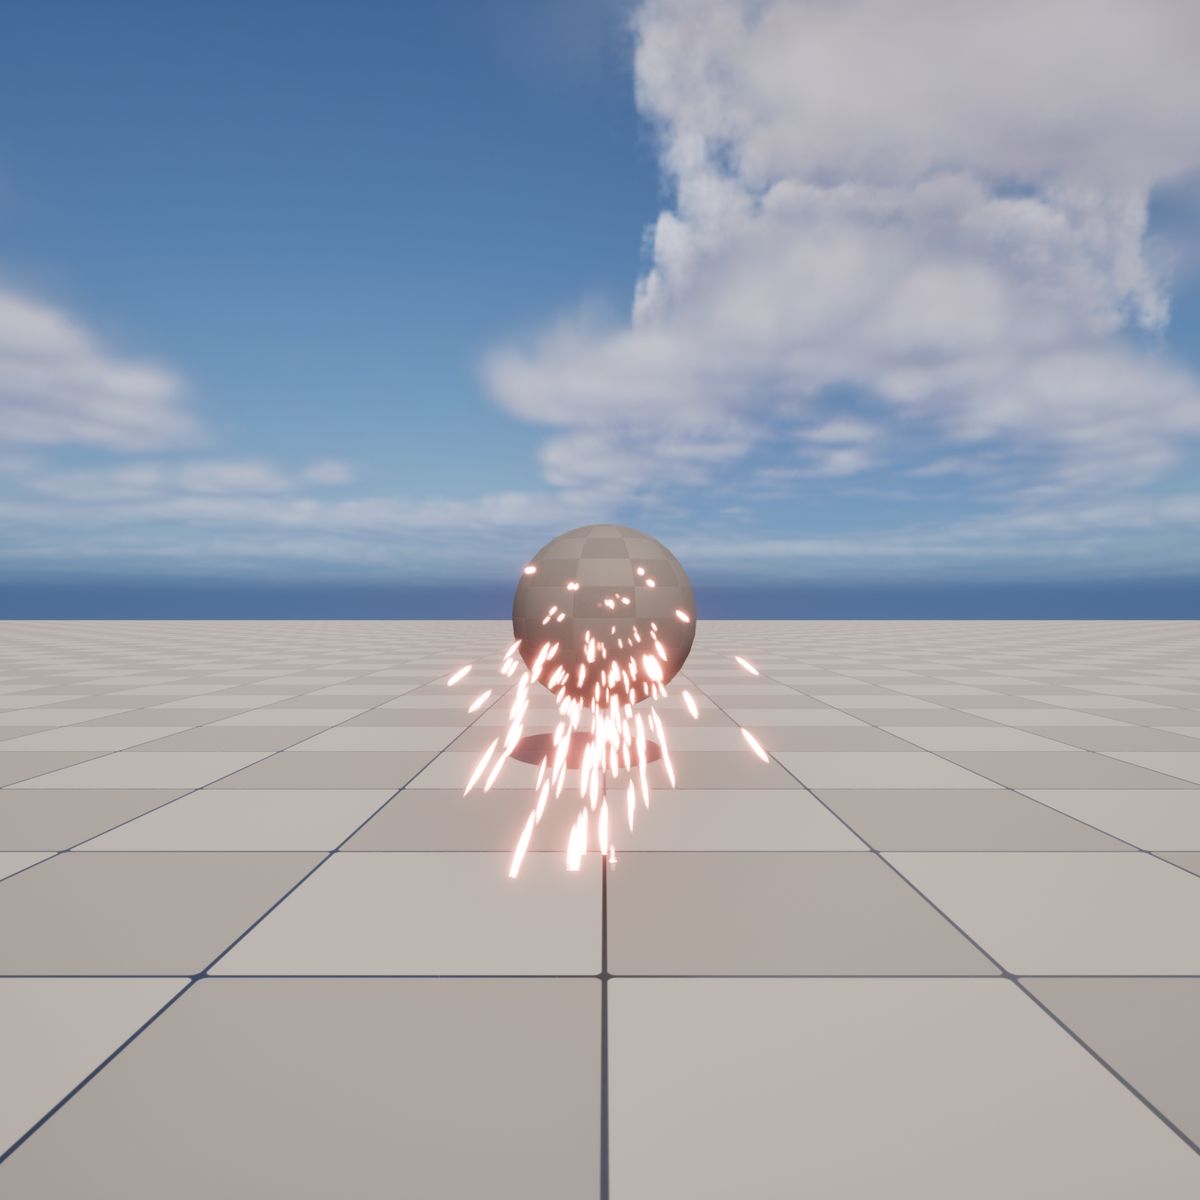
This Game Feature contains two actions: one that adds a UStaticMeshComponent using the built-in UGameFeatureAction_AddComponent via a custom PawnComponent (B_SamplePawnComponent, SamplePawnComponent.cpp), and another one that spanws a Niagara System through the custom UGameFeatureAction_AddNiagara that I already described above.
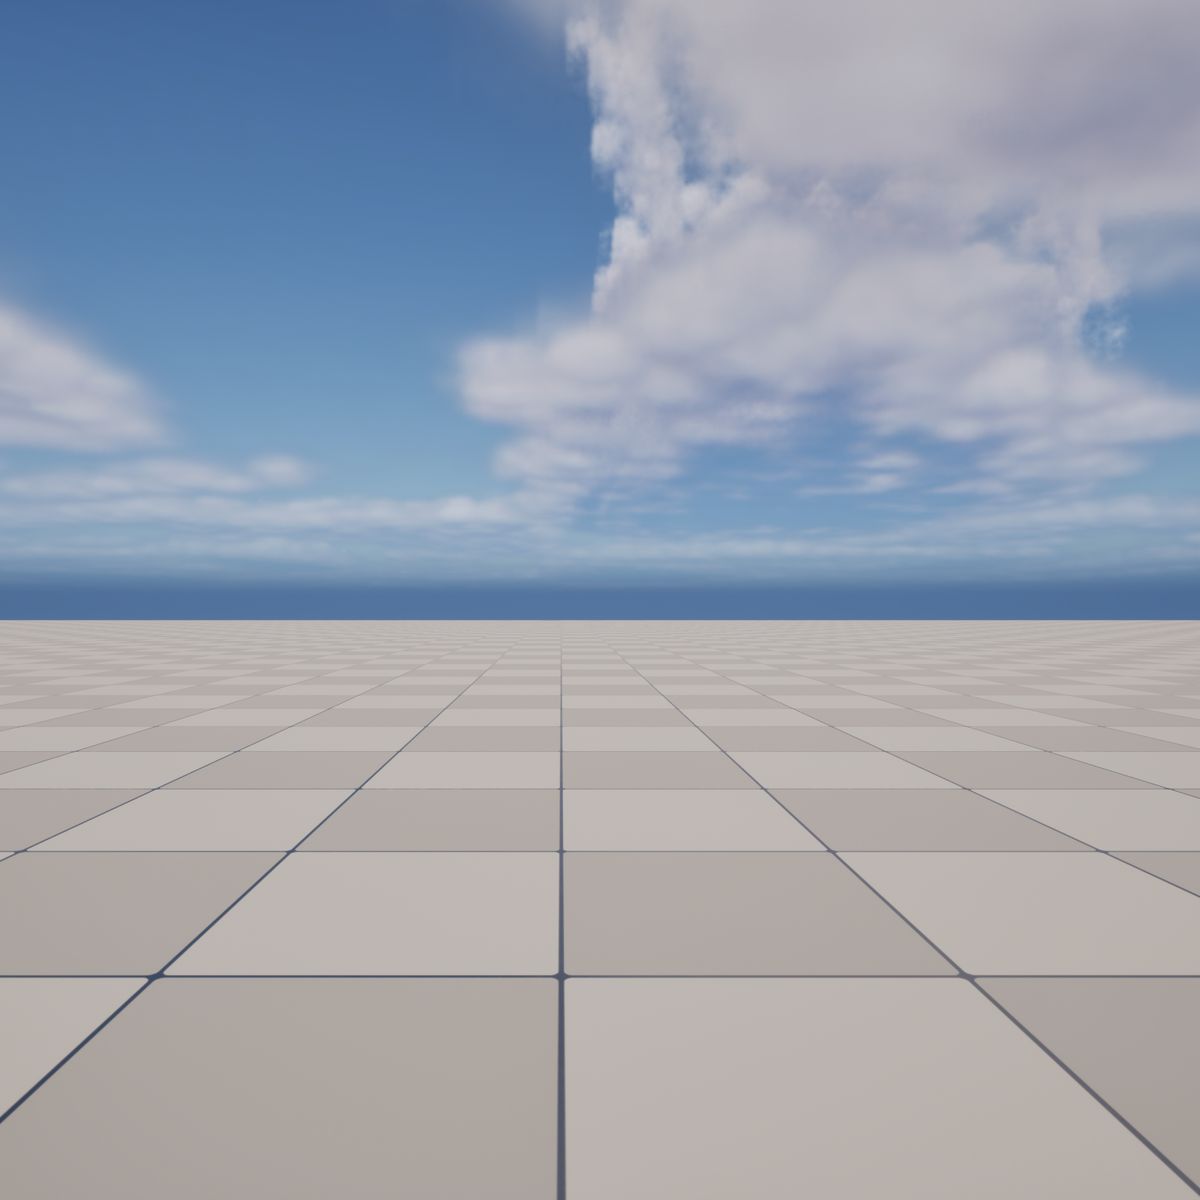
In order to test the this sample Game Feature, open the companion project in the Unreal Editor, start a PIE session, open the Game Feature Data Asset, and toggle the Current State to Active. By doing so, a Sphere static mesh and a Niagara effect will be added to the instance of B_SamplePawn present in the level. As you might have already guessed, B_SamplePawn is an Actor that’s registered with UGameFrameworkComponentManager by extending AModularPawn.


Conclusions and additional resources
Game Features and Modular Gameplay are not hard to understand once showcased in an example project that focusses on them in isolation.
If you want dig deeper, you can find other information about Game Features and Modular Gameplay plugins here:
- Game Features and Modular Gameplay @ dev.epicgames.com.
- A video showcasing Modular Gameplay features in Valley of the Ancient and Fortnite, worth watching to get inspiration from how Epic is using Modular Gameplay in their own games.
- References to Modular Gameplay in the Valley of the Ancient Sample documentation.